|
Game Aids

This is some of the game aids you can use to support the play. A varity of different aids
can be used but the right is listed the most common. The solution to chose also depends
on how much money your group can afford to spend
Below is a more detailed explanation with pictures and references to each solution
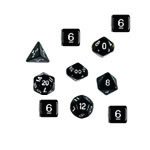
Dice and dice bags
Buy a RPG Dice set consiting of 4-sided, 6-sided, 8-sided, 10-sided, 12-sided and 20-sided
dice and make/buy your own Dice bag made of Leather or cloth. Both can be bought in a
game store
 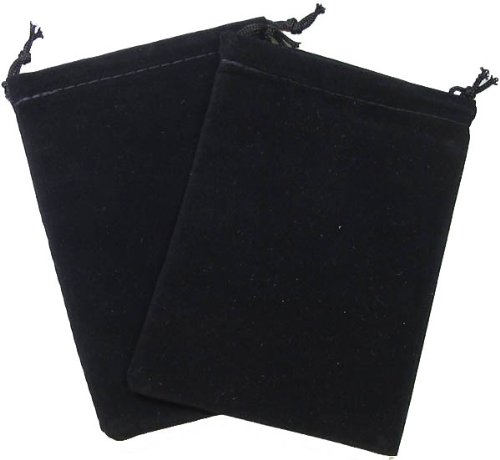 
If you want to make your own Dice bag it can be done very cheap by visiting a
leather worker store and buy following:
1. Small pice of thick Leather
2. Pack of cord rings
3. Cord ring piston
4. Pincer to make cord ring holes
5. Laces
It should cost 10-15 EUR and then you can make 4-5 dice bags for the whole group
and it will be more durable and in higher quality than most of the ones you can purchase.

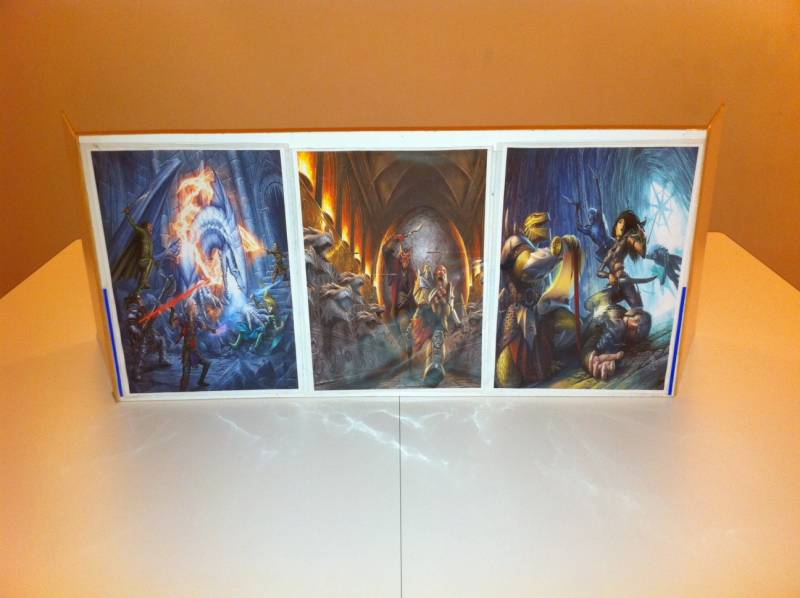
DM Screen
1. Method
You can easily create your own DM Screen from a piece of cardboard or Plywood.
Glue the most used tables on inner side for quick reference
1. Cut 3 pieces of Plywood in following dimensions:
1 piece: 660mm x 310mm (main section in middle)
2 pieces: 200mm x 310mm (wings)
2. Fasten the wings to the main section using Gaffa tape or similar robust wide tape.
3. Glue or tape the tables to the back of the Screen. If using the DM screen tables from Dragon Magazine they fit perfectly (they cover 4 A4 pages) if you cut one of the pages in two vertically down the center)
The result should look like this:

Back side of Home made DM Screen
Front side of Home made DM Screen
You can decorate the front by putting images or similar on it.
In the home made version I prefer that the wings are more narrow than a full A4 page for better fit to normal tables.
You can find 2-3 versions on DM tables on the Material page. Print the one you like the best. My favorite one is the DM screen from Dungeon Magazine.
2. Method
The fast way is to buy an Official DM Screen from Wizard of the coast.
3. Method
Even better you can build a really luxury one yourself from the Castle Tower Building set
Here is the steps:
1. Download The Castle Tower DM Screen kit from the Material page
2. Color print all pages on some thick paper (100-120 grams or more) or cardboard
3. Use a sharp Scissor to cut all the pieces out
4. Assembly the Castle Tower (takes some time)
5. Cut 3 pieces from Plywood and glue it on the base og the main part and the two wings for improved stability
6. Print out the tables from DM screen from Dragon Magazine (on the Material page)
7. cut all tables out using a scissor so they are all seperate tables.
8. Arrange the tables (as best you can) on 5 pieces of thick paper/cardboard and use a gluestick to fasten them.
The 5 pieces of paper which has following dimensions:
1 piece: 45mm x 170mm
2 pieces: 235mm x 175mm
2 pieces: 95mm x 170mm
9. Use double sticking photo tape to fasten them to the backside of the castle tower as seen on the picture below
Potentially you can laminate the 5 pieces of paper after having fastened the tables
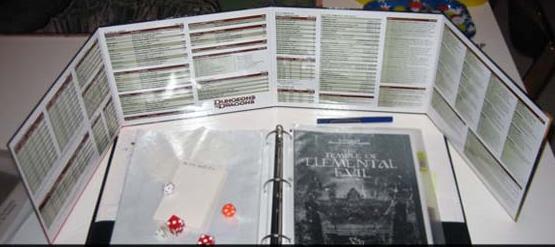
The result look like this:
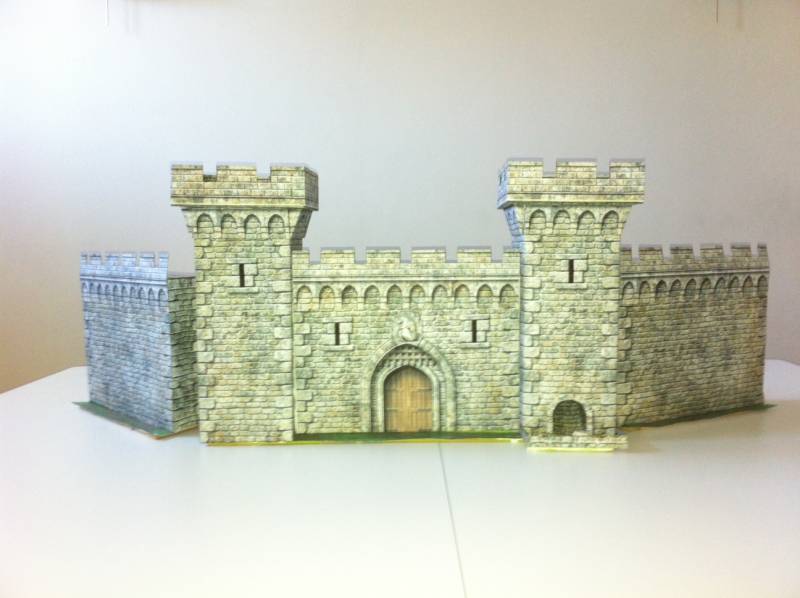
Front side of Castle Tower DM Screen
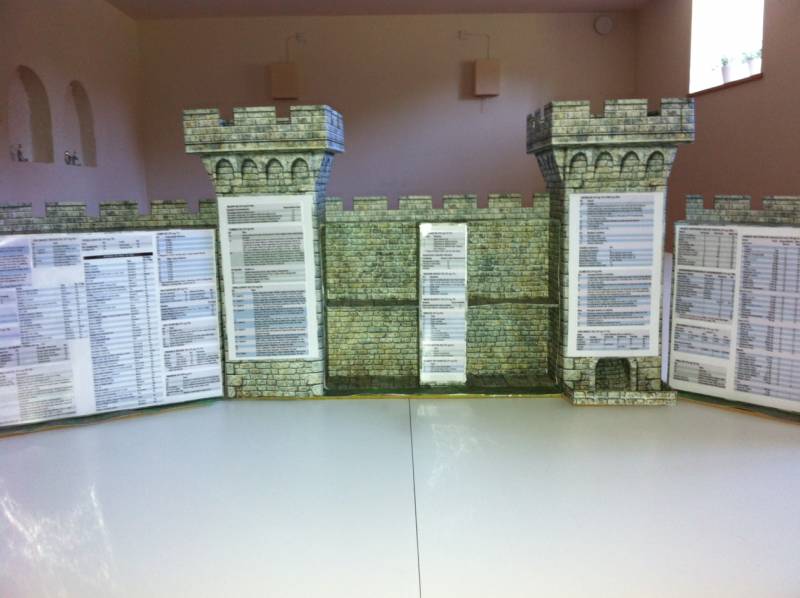
Back side of Castle Tower DM Screen
Dungeon setup
1. Method
Get a cheap residual plate made from Tempered glass from a glass manufactorer at a
size close to your gaming table
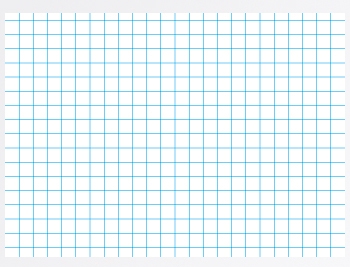
On a large piece of cardboard which is of equal size of the Tempered glass plate you
draw a 5x5 feet grid untill it covers all of the cardboard. Then place the Cardboard grid
below the glass plate - and now you have a nice gaming board where you can draw your dungeon on.
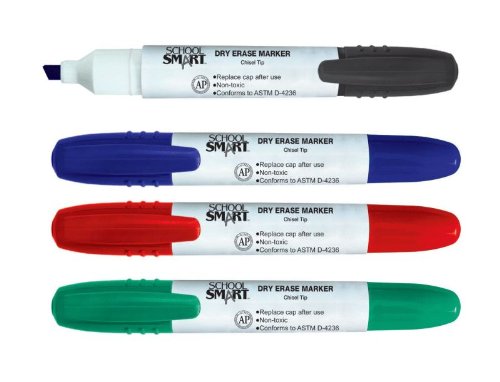
Use a Dry erase whiteboard marker for drawing a dungeon on glass plate - easy to draw
and easy to erase again and again.
2. Method
Buy Battle mat with 5x5 feet grid on one side and hex on the other. Forexample Chessex
Role Playing Play Mat: MEGAMAT Double-Sided Reversible Mat for RPGs and Miniature
Figure Games.

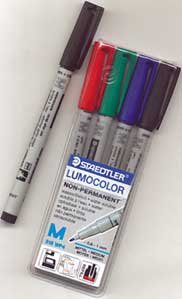
Use Waterbased overhead markers for drawing a dungeon on mat. Forexample
Staedtler Lumocolor Water Based Overhead Projection Markers
3. Method
Buy Carton Dungeon Tiles (rooms, hallways, doors, traps etc..) for laying out a 2D
dungeon. You can buy these sets from Wizard of the Coast or other producers of
fantasy tiles

4. Method:
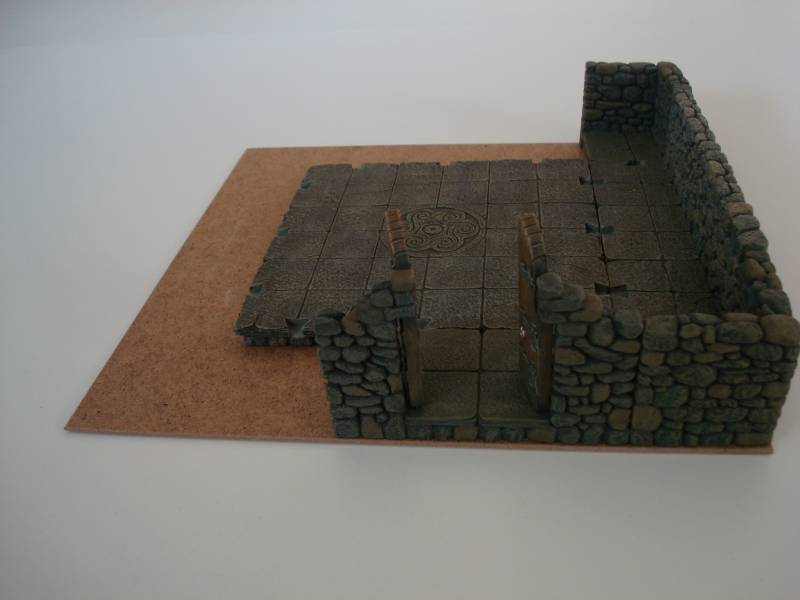
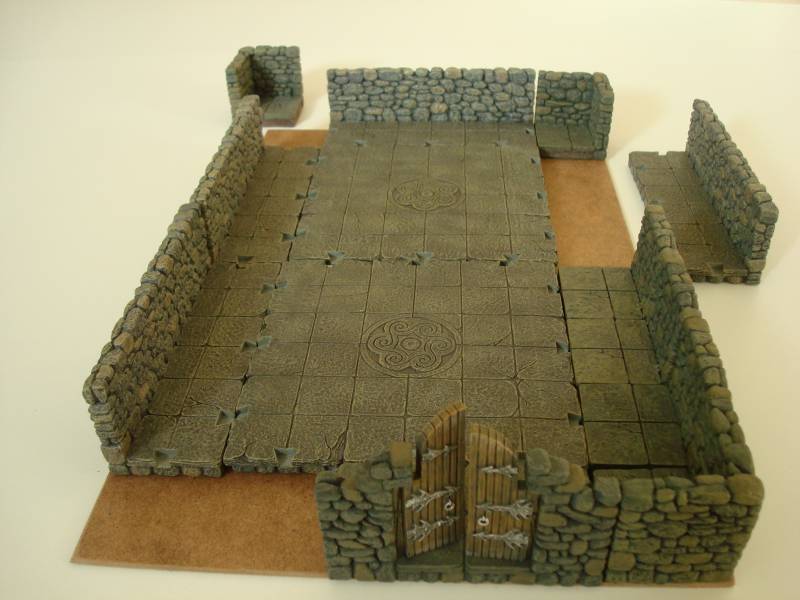
Buy 3D Miniature Terrain for building a real 3D dungeon. The by far best terrain
available is Dwarven Forge Terrain. It is made of resin and very solid and durable
for a lifetime. The tiles lay steady on the table without a problem. The tiles are
pre-painted by hand and detail level is great. The downside is that it is very expensive
and hard to get hold of (expecially the older collections). But if you can afford it it is worth
all of it.
A less expensive alternative is to buy it from Dungeonstone instead.Quality and detail
is a bit lower and it is mainly sold unpainted. There is a few sets which are pre-painted.
Picture: Unpainted Dungeonstone terrain Picture: Pre-painted Dwarven forge Terrain
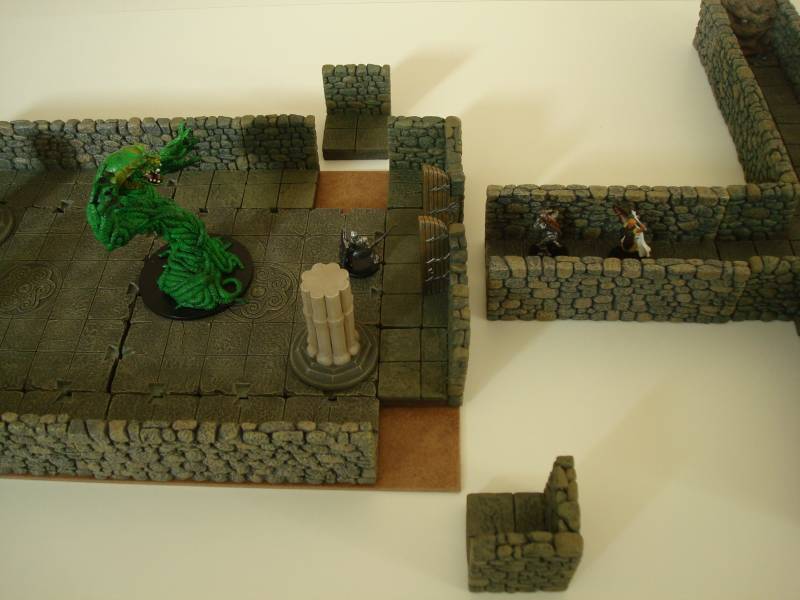
4.1 How to work with Dwarven Forge
There is in principle following ways for the DM to handle Dwarven Forge when creating the Dungeon:
1) Lay each piece down as players advance through the maze. This is very existing for players since they never know which direction the maze will take - and this keeps ressourcefull gamers from having an advantage. The downside is that it requires some time and game pauses for the DM to setup the rooms - specially the advanced ones.
2) Build the entire maze completely adhead of time, and then fill the rooms and passages with monsters, props and add secret doors as the players enter those areas. Downsize here is that everything is visible which takes some of the fun and exitement away but the upside is it is very fast for the DM and no game stops.
3) Build the main part of the maze in advance and leave few areas yet to be explored. This could equal a map with missing parts or torn of corners which the players characters has recieved. This is a sort of comprimise between option 1 and 2.
4) Build the entire maze ahead of time - complete with monsters and props but hide the rooms and passages using thick pieces of cardboard. You then reveal the rooms as the players advance by lifting off the cardboard.
My prefered favorite is definately method 1 as this creates the best atmosphere to keep the players in the dark of what is waiting them. However the downside of the time used by DM to build the rooms can be overcome by adding a simple tool to support pre-build of the most advance rooms
(see below)
4.2 Support tools to allow easy adaption of pre-buils Dwarven Forge rooms
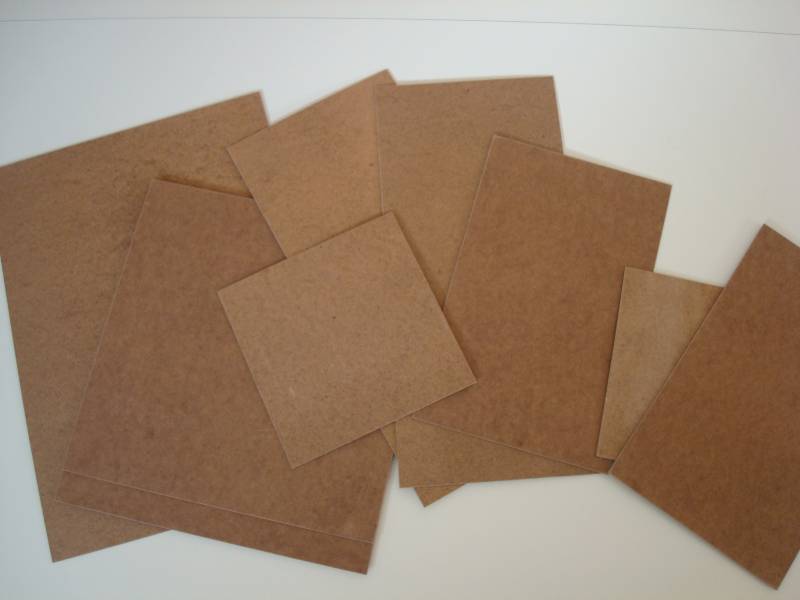
Cut a large wooden masonite plate (4mm thick) into smaller room shapes which fit the dimensions of the Dwarven Forge pieces. Following sizes fit the construction of several different rooms:
25 x 25 cm
40 x 40 cm
55 x 55 cm
25 x 40 cm
25 x 55 cm
40 x 55 cm
The masonite plates are sufficient stable to hold a complete pre build rooms if carried around with care (like lifting a big cake). But being only 4 mm thick it does not prevent the pre build room to be fitted into an existing maze.
A) Cut the Masonite wooden plate into several smaller pieces with the above dimensions
B) DM pre-build the most advanced rooms before the game session starts on top of the masonite pieces.
C) During the game session the Pre-build rooms can easily be added to the existing maze on the game table.
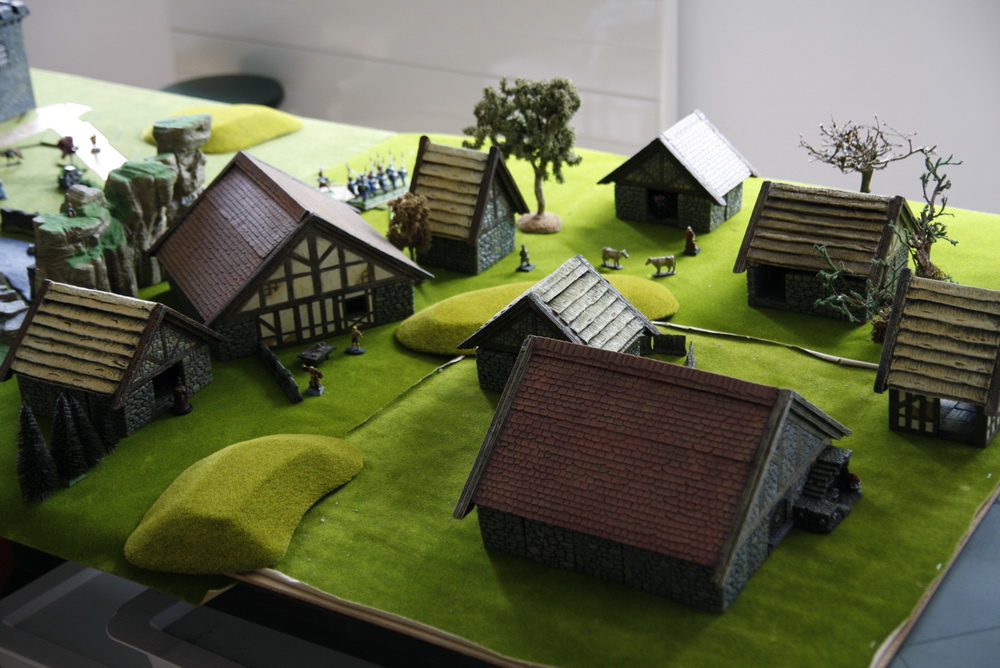
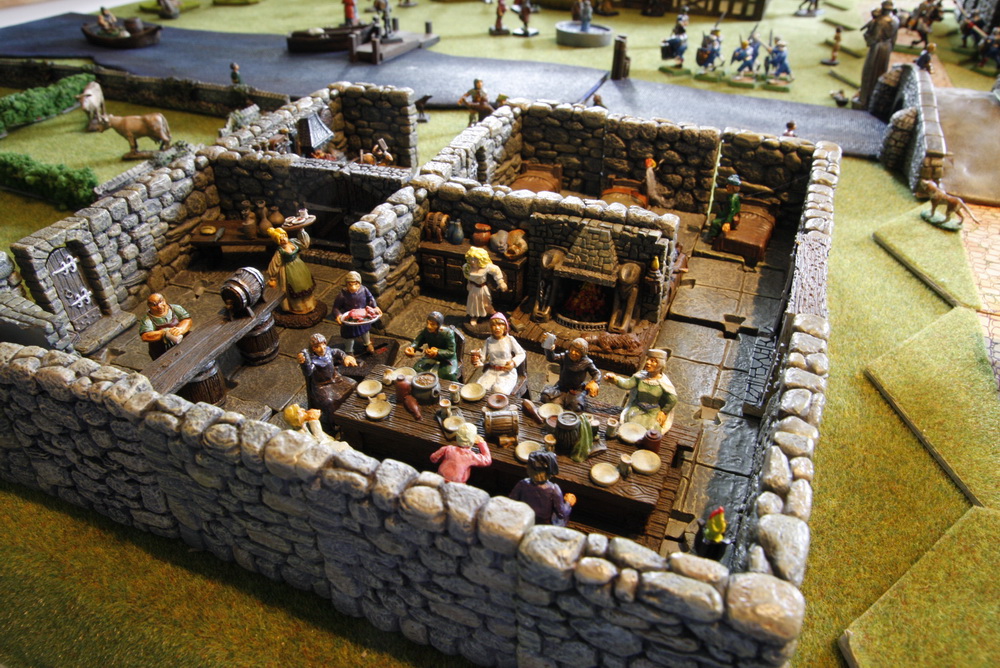
4.3 Handpainted roofs from solid resin compatible with Dwarvenforge
Roofs can be put on top of Dwarven Forge and be used as pretty realistic houses, churches, Townhalls, taverns etc. Excellent for setting up outdoor or urban encounters. You can build simple and cheap roofs by color printing a roof pattern on thick paper or carton and just bend it as room to place it loosely on the Dwarven Forge walls.
If you wan't a professionel solution in line with the reboustness and quality of Dwarven Forge then you can buy handpainted roofs casted from solid resin which fits 100% to Dwarvenforge measures:
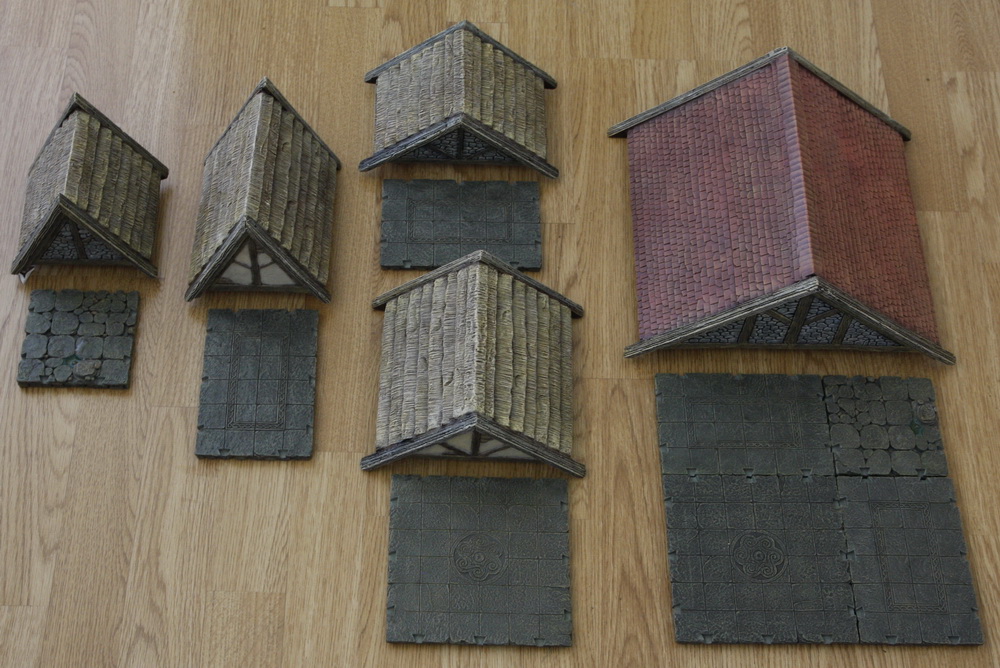
Picture: Large roof set from Yansolo Minis (picture borrowed from www.dwarvenforge.info/toits)
Picture: Large roof set from Yansolo Minis (picture borrowed from www.dwarvenforge.info/toits)
Picture: Large roof set from Yansolo Minis (picture borrowed from www.dwarvenforge.info/toits)
On the links page you can find a link where to purchase it. Otherwise look here:
Yansolo Minis Ebay Store
4.4 Handpainted ships from solid resin compatible 25mm/28mm miniatures
For sea based campagins or river journeys ships and boats in 3D is a really nice game aid for the roleplay to come to live. attacks from enemy pirate ships or crew rebellion can be played very realisticly. One of the nicest solutions out there is probaly the handcrafted ships from Arsenale Shipworks store. On the links page you can find a link where to purchase it.
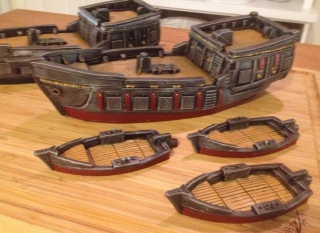
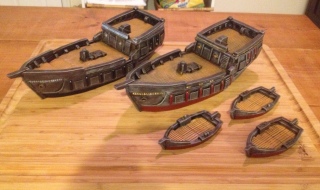
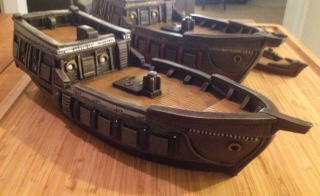
As a buyer you can decide what colours or theme you wan't the ships to be painted in. In the second picture you can see the first large ships is painted in a a "dark/evil" theme abd the second large ship more in a "Trade galley/King ship" theme.
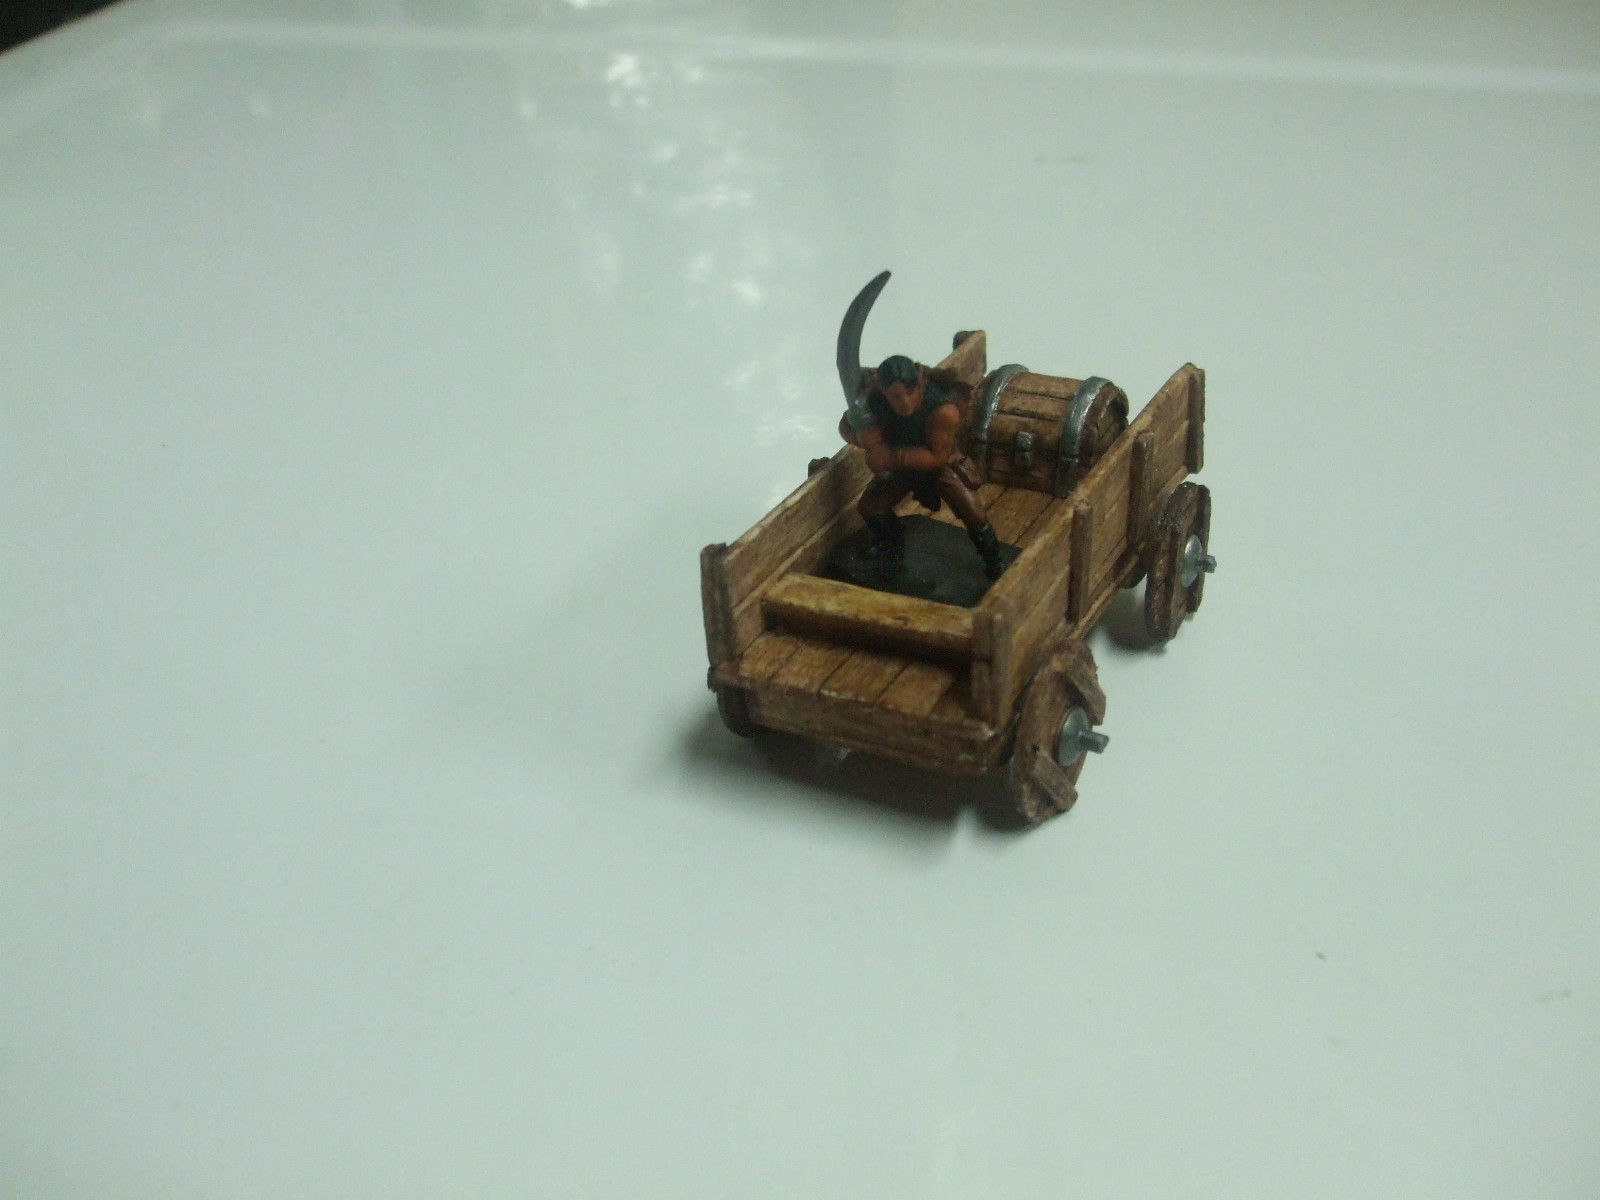
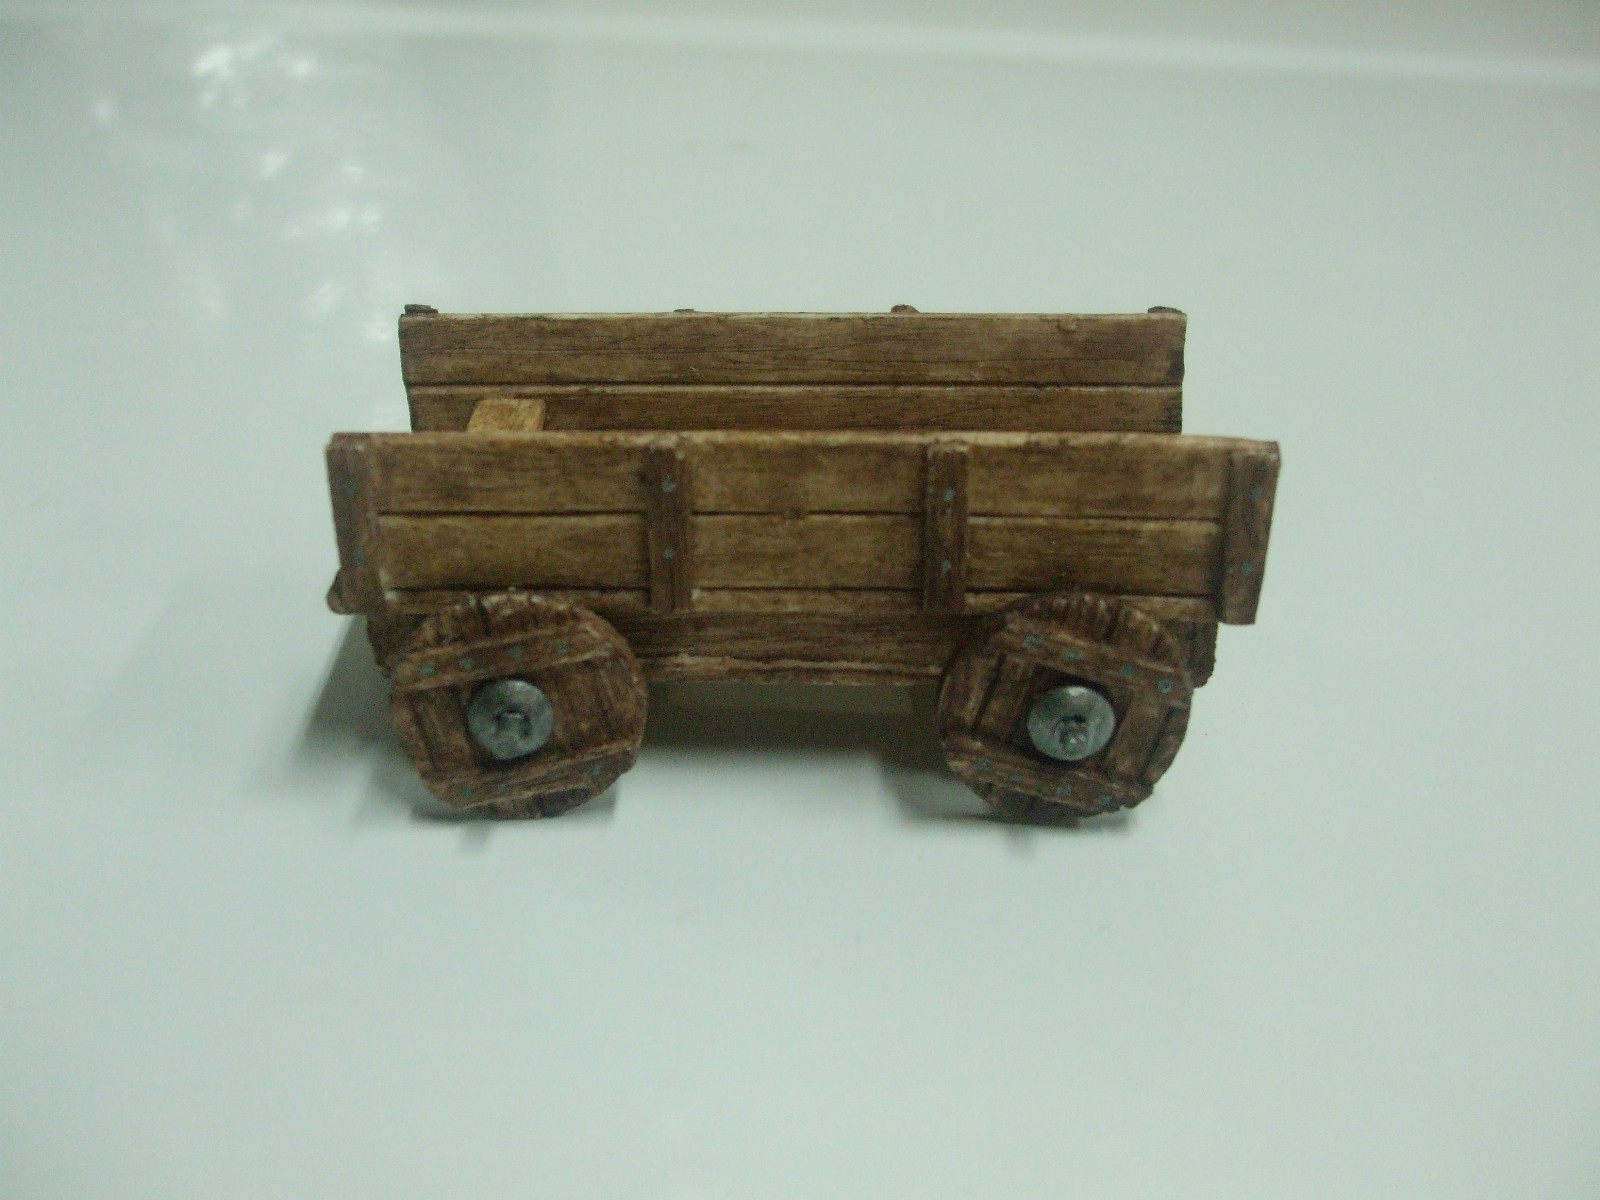
4.5 Handpainted cart for 25mm/28mm miniatures
A nice gadget is this miniature cart made from simple light wood and handpainted. The wheels on the cart can actually turn. It is a bit fragile but if handled with care it will last.
It is sold on ebay if you search for: Painted Miniature Wagon (D&D, Pathfinder, Warhammer, Dwarven Forge compatible) ( 150955861375 )
4.6 Plastic trees for woodland campaigns or encounters
For woodland campagins or encounters a good game aid is some 3D trees to create a forrest encounter or for a Druid Grove setup. Lots of options and online shops for purchase of miniature terrain trees exists. One example of really nice durable plastic trees which look realistic and also a at reasonable price level is trees from the "Model Tree Shop" in UK. On the links page you can find a link where to purchase it.
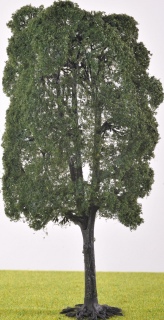 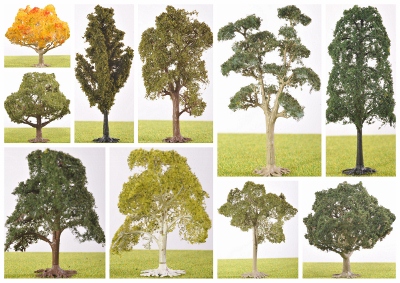
Picture: Plastic trees in various shapes from Modeltreeshop (picture borrowed from www.modeltreeshop.co.uk)
Game Tokens or Miniatures
1. Method
You can use Board Game tokens or various 25-30mm plastic toy figurines or make your own Carton Tiles with Player Characters and Monsters pictured on them. The carton tiles with characters can also be bought from example Fiery dragon. You can find the link on the link page. There is a zip file collection of these on the "Material" page under "DM only"

2. Method
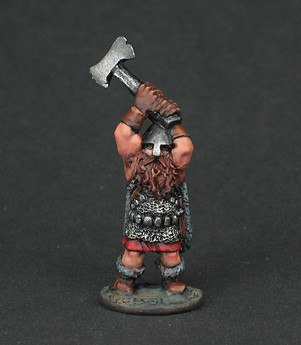
You can Buy new or second hand old metal miniatures painted or unpainted. These metal miniatures where the first ones used during 1980's and 1990's before WoTC started produced the pre-pinted D&D miniatures. Main producers of these has been Genadier, Ral Partha and Games Workshop. You can still buy lots of new metal figures for own painting but it is also easy to buy some used on the ebay.
3. Method
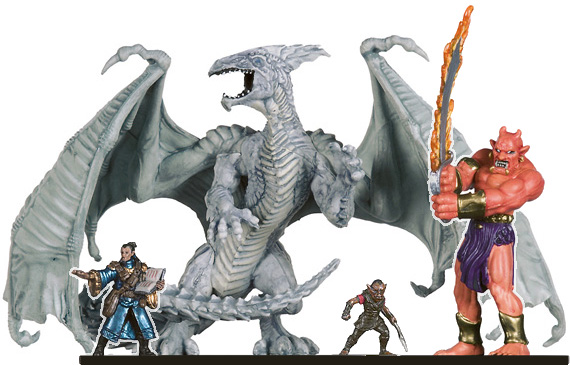
Buy Offical pre-painted durable D&D miniatures in (from Wizards of the Coast). you can sse a collection of these on the miniature gallery pages on this site. The advantage is that they are really detailed and adding a lot to the visualisation and are made in correct scales (tiny, small, Medium, large, Huge, Gaugantuan and colossal sizes)
Game Table
1. Standard Method
You can use any rectangular table fit for approx. 6 persons as long it has a plain and solid surface and is wide enough to contain DM's screen, the Battle map or Glass Plate and still have room on the sides for placing Character sheets, notes and books.
Minimum dimensions for a good fit rectangular table for 4-5 players and a DM are around: 120 cm wide and 200 cm long

2. Deluxe Method
You can also create your own customised Game Table from a Particleboard or MDF board. In Orkerhulen.dk we have created our own customised table with a unique trapez shape and a special area for the DM.
Addtionally we have selected to split the Table into two seperate boards which can be put together to ease up storing and handling as each board weights around 43 Kilograms
Small Hinges mounted on one of the boards keep the boards together. We use 5 bucks each 1 m wide instead of Permanent Table legs. This way the Table is fully mobile and can be removed as needed.
The trapez shape helps orienting the players towards the DM and the seperate DM sections allows for the DM to have all his Game materials and books available at hand on each side of the DM Screen. Further more the dimensions allows the DM to have material correpsonding to three A4 sheets placed side by side in front of him. (typically Party record sheet, Current page in adventure book and blank note page for keeping track of monster HP and other stuff)
The width of the table allows for each players to have sufficient room in front of them for A4 size D&D books or papers even if placing the large batlle grid from Chessex in the middle of the table or a Dwarvenforge setup. You can see the result on the members page here
Below is a picture of the shape and dimensions:
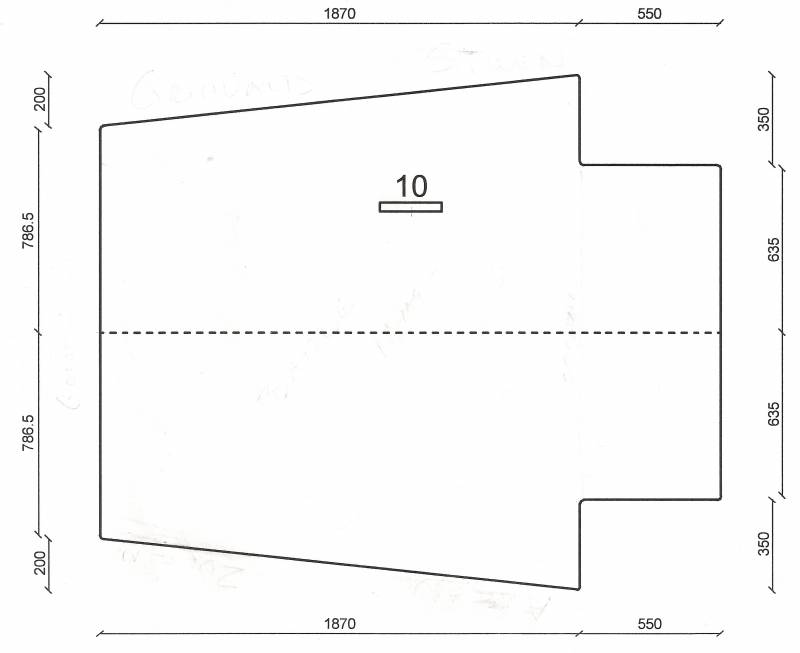
Please note: The number "10" in the middle of the drawing does not mean anything
|